When advertising your website it is imperative that you are able to track the effectiveness of the visitors. When we ran a recent Facebook ads campaign, we discovered the tracking we had on our WordPress site was for the entire site. We needed to insert a Facebook pixel on an individual WordPress post.
Why do we want to do insert a pixel by post?
If you add the Facebook pixel, or any other tracking pixel, into the header or footer it will trigger the entire site. But, you would not want to have the entire site trigger a “lead” for Facebook advertising. I only wanted the “lead” to trigger on a specific post.
After a time of searching for a solution, I took matters into my own hand and figured it out. So, I thought if I needed to do this for tracking, others would too. Furthermore, it is not obvious in the WordPress set up how this is accomplished.
Let me show you how to insert a Facebook pixel into an individual WordPress post.
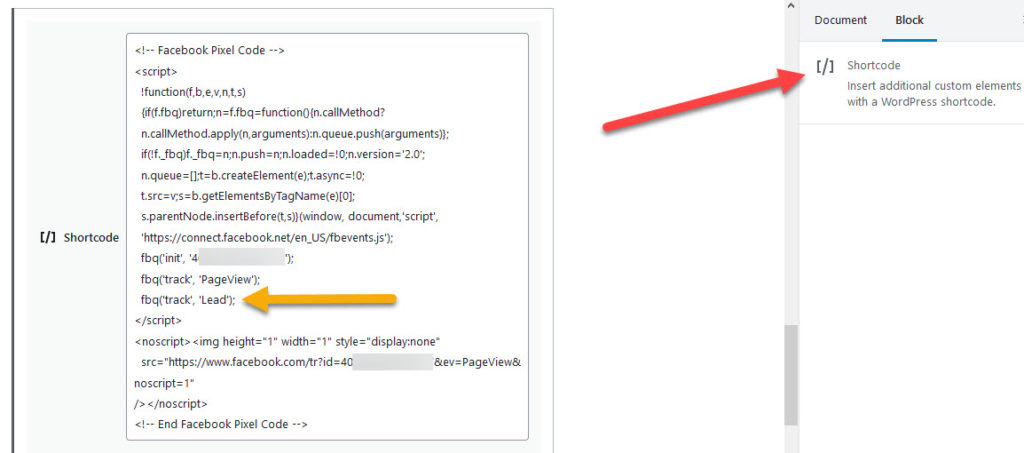
After you have created a post in WordPress, you will scroll to the bottom of the post and add another block. This block is called “shortcode” and it is displayed as [/]. See the picture below.

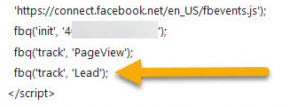
In the shortcode box, you will add the standard Facebook pixel code for your advertising. Then, you will need to add the term ‘lead’ after the ‘pageview’ so the system will know that ONE POST is the lead or action your want to track.

Save the post and publish. Verify the code does not show up on your post when viewed as a prospect. Now your post will generate a ‘lead’ back to Facebook or other tracking systems.
There are other tracking systems that take the data to the next level. We use Connectio. You will find review material on this site if you would like to read it. The connectio system has a great tracking pixel built into it. Check it out if you want robust pixel tracking.
If you are new to marketing pixels, you can check out my previous post ‘What is a marketing pixel‘.

